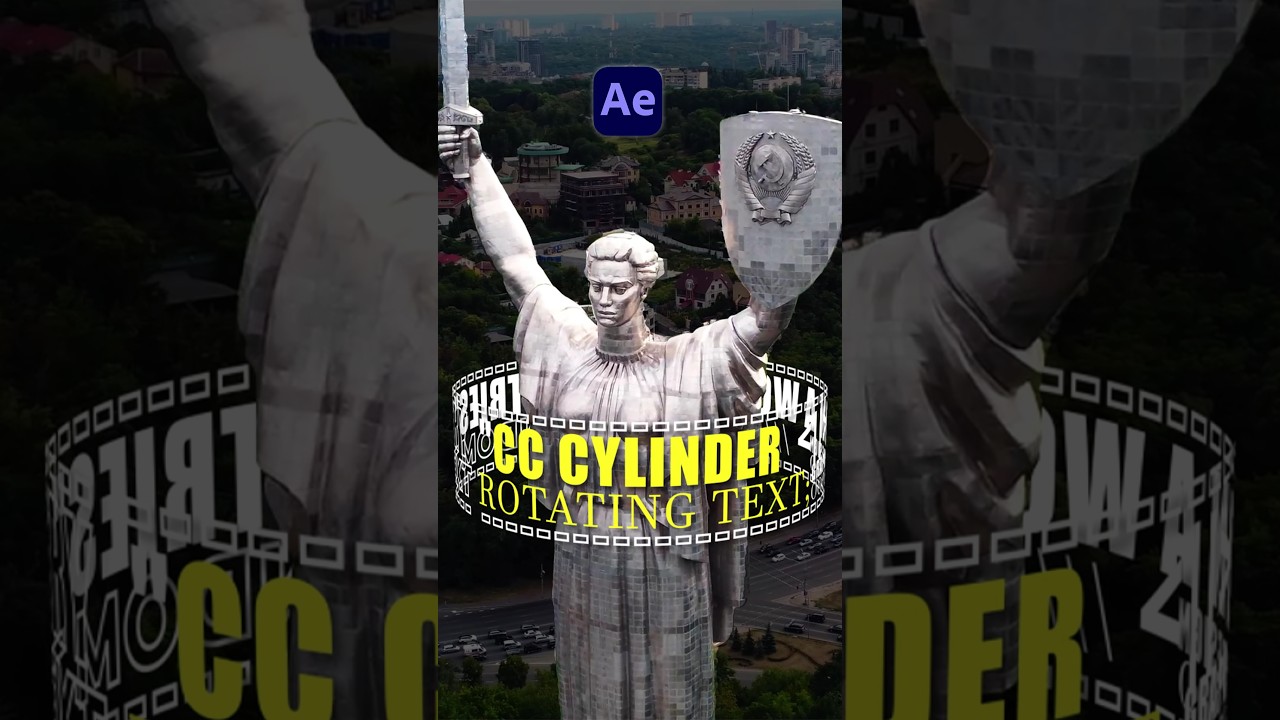
3D Rotating Cylinder Text in After effects | CC Cylinder #tutorial
Education

3D Rotating Cylinder Text in After Effects | CC Cylinder #tutorial
If you're looking to create eye-catching rotating text around objects in Adobe After Effects, follow these detailed steps to achieve your desired effect.
Step 1: Create a Large Composition
Start by creating a new composition with a width of over 4,000 pixels. This extra width is necessary to allow ample space for the text or graphics to rotate around the object.
Step 2: Add and Adjust Your Text
Type out your title or graphics to fit the entire width of your new composition. Adjust the font, size, and color to match your project’s needs.
Step 3: Use the Roto Brush Tool
Duplicate your footage and use the Roto Brush tool to remove the background. This step is crucial for isolating the object around which your text will rotate.
Step 4: Import into Main Project
Import this composition into your main After Effects project. This will serve as the base for adding the rotating text effect.
Step 5: Apply the CC Cylinder Effect
Go to the Effects & Presets panel and apply the "CC Cylinder" effect from the Perspective category to your text layer.
Step 6: Adjust Rotation and Animate
Adjust the rotation values to position your text correctly. Animate the "Rotation Y" property to create the rotation effect over time.
Step 7: Refine with Settings
Consider increasing the "Ambient" setting to ensure the text maintains a consistent look and color during rotation.
Step 8: Configure the Render Options
To make the text wrap around an object correctly, set the "Render" option to "Outside." Duplicate the layer and change the render option for the duplicate to "Inside."
Step 9: Composite the Layers Correctly
Place the Roto footage (the object) between the two text layers. This ensures the text appears to wrap around the object seamlessly.
Step 10: Enjoy Your Cool Rotating Graphic
Now your composition should showcase a smooth, rotating graphic effect in After Effects. For more tutorials, consider subscribing to channels like NOA Film Academy.
Keywords
- 3D Rotating Text
- After Effects
- CC Cylinder Effect
- Roto Brush Tool
- Text Animation
- Motion Graphics
- NOA Film Academy
FAQ
Q1: What is the purpose of creating a composition with over 4,000 pixels width?
A1: The large width allows ample space for the text or graphics to rotate without clipping or appearing cut off.
Q2: Why do I need to duplicate the footage and use the Roto Brush tool?
A2: Duplicating the footage and using the Roto Brush helps isolate the background, allowing the text to appear as if it is seamlessly wrapping around the object.
Q3: Which effect from the Effects & Presets panel should be used to create the rotating text?
A3: Use the "CC Cylinder" effect from the Perspective category.
Q4: What does adjusting the "Rotation Y" property do?
A4: Adjusting the "Rotation Y" property animates the text rotation around the object along the Y-axis.
Q5: Why is it necessary to set the render options to "Outside" and "Inside"?
A5: Setting the render options to "Outside" and "Inside" ensures that the text correctly wraps around the object, producing a 3D rotation effect.
Q6: Where should the Roto footage be positioned in the layer stack?
A6: The Roto footage should be placed between the two text layers to create the illusion that the text is wrapping around the object.
By following these steps and tips, you'll be able to create dynamic, rotating text effects in After Effects, adding a professional touch to your video projects.