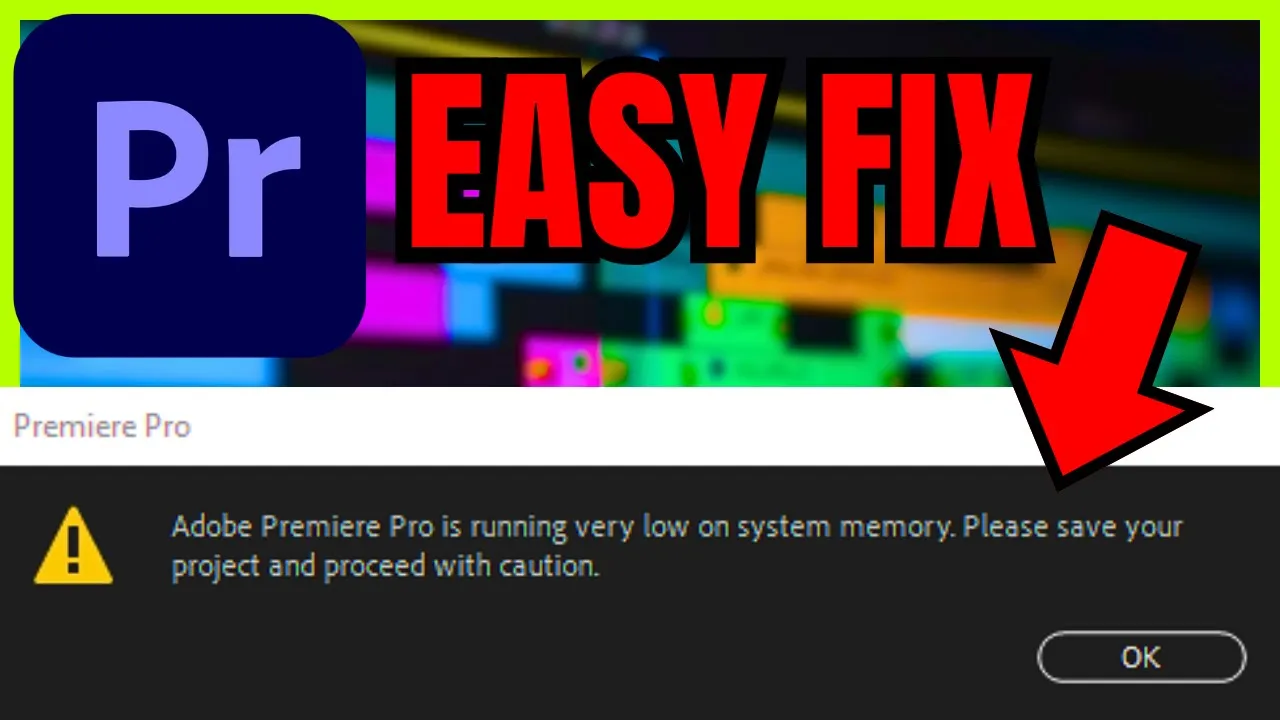
Adobe Premiere Pro Low System Memory (EASY FIX 2024)
Howto & Style

Introduction
If you've encountered the "Adobe Premiere Pro is running very low in system memory" error, don’t worry! This issue can usually be resolved with some simple fixes. Below, we'll cover four effective methods to help you get back to editing your projects without interruptions.
Fix 1: Clear Media Cache
The first step in resolving low memory issues is to clear the media cache. Follow these steps:
- Open Adobe Premiere Pro.
- Click on Edit in the menu bar.
- Select Preferences and then choose Media Cache.
- In the Media Cache Preferences window, look for the option to delete cache files. Click on Delete.
- When prompted to delete unused media cache files, confirm by clicking OK. (Note: Some options may be grayed out based on your current settings.)
- After the process is complete, click OK to close the Preferences window.
- Restart Adobe Premiere Pro to see if the error persists.
Fix 2: Allocate More RAM to Premiere Pro
If clearing the media cache didn't resolve the issue, try allocating more RAM to Adobe Premiere Pro:
- Go back to Edit and then Preferences.
- Select Memory to see your installed RAM.
- Check the RAM reserved for other applications. If it’s more than 5GB and you have at least 14GB total, adjust the RAM available for Premiere Pro by moving the slider.
- Aim to reserve at least 8GB for Premier Pro, if your system allows.
- Click OK to save changes.
Fix 3: Close Unnecessary Applications
Closing other applications can free up system resources for Premiere Pro. Consider the following:
- Shut down any browsers, communication tools (like Discord, Skype, Zoom), and other unnecessary applications while working in Premiere Pro.
- This will help allocate more memory to the editing software and enhance performance.
Fix 4: Delete Render Files
If your project contains multiple rendered files, they may be consuming memory. To delete these files:
- Go to Sequence in the top menu.
- Look for the option to Delete Render Files (Note: This may be grayed out if there are no render files present in your project).
- If clickable, select this option to delete rendered files, which can help improve memory usage.
Conclusion
By following these four fixes—clearing your media cache, allocating sufficient RAM, closing unnecessary applications, and deleting rendered files—you can effectively solve the low system memory error in Adobe Premiere Pro. If you found this guide helpful, consider subscribing to our channels for more tips and tricks!
Keywords
- Adobe Premiere Pro
- Low system memory
- Clear media cache
- Allocate RAM
- Close applications
- Delete render files
FAQ
Q: What does the low system memory error in Premiere Pro mean?
A: It indicates that Adobe Premiere Pro does not have enough available memory (RAM) to function efficiently, which may result in performance issues.
Q: How can I clear the media cache in Premiere Pro?
A: Navigate to Edit > Preferences > Media Cache and use the Delete option to remove unused cache files.
Q: How much RAM should I allocate to Premiere Pro?
A: At least 8GB of RAM should be reserved for Premiere Pro, but more may improve performance, especially if you have 16GB or more total RAM.
Q: Why should I close other applications while using Premiere Pro?
A: Closing other applications frees up system resources, allowing Premiere Pro to function more smoothly and reducing the chances of memory issues.
Q: How do I delete render files in a Premiere Pro project?
A: Go to Sequence > Delete Render Files to remove any rendered files that may be consuming memory resources.