AutoDepth AI, but for free! // Blender Tutorial
Film & Animation

Introduction
Today, I had a novel idea that I'm calling "Do It for Free." In this series, we take something available on the Blender Market—something someone is charging for—and I show you how to do it without spending a dime. This time, our subject is AutoDepth AI, a tool that reportedly sold around 900 copies in a single month for $ 790, raking in approximately $ 77,000 for what essentially is a neat trick.
What is AutoDepth AI?
AutoDepth AI takes an image and generates a depth map, allowing you to create a 3D effect without any modeling or complex extrusion work. The magic behind the tool lies in its ability to extract depth information, essentially creating a height map that can be used for displacement. However, I argue that the creators didn't innovate much; they merely integrated someone else's AI depth model into Blender.
How to Create Your Own Depth Map for Free
Let’s walk through an example step-by-step.
Image Selection: Start with a high-resolution image. For demonstration purposes, I’ll save an image called "before depth."
Depth Model: There are numerous depth models available, but one of the most state-of-the-art is called MerryGold. You can find it on GitHub or use a beautiful demo on Hugging Face.
Computing Depth: Upload your chosen image, adjust settings if necessary, and click to compute the depth. This typically takes about 30 seconds.
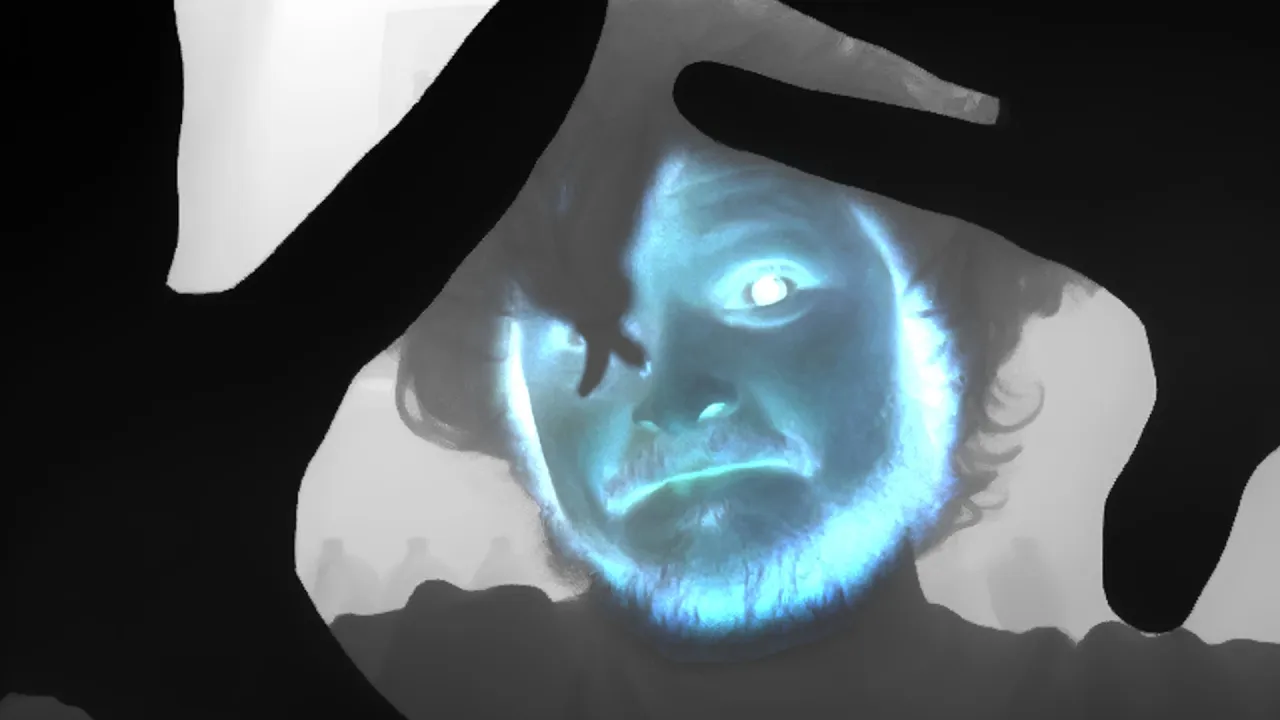
Understanding the Depth Map: Once completed, you’ll receive a depth map visualized in a black-and-white thermal cam style. The black regions denote areas close to the camera, while white areas represent those farther away. For depth precision, ensure you work with a depth map that has 16 bits.
Blender Setup: Open Blender and create a new project:
- Add a plane.
- Switch to Eevee rendering mode.
- Create a material and drag your original image into the material editor.
Depth Masking: Load your depth map and configure it to displace the z-axis. Ensure the displacement is set to either “displacement only” or “displacement and bump” in the material settings.
Geometry Requirements: If nothing appears at first, this might be due to the lack of geometry or misconfigured displacements (e.g., inverted depth). Simply invert the depth map if needed.
Final Touches: You’ll now see the 3D depth effect, and you can further refine it by adding lighting to generate shadows—elements that add realism to your scene that didn't exist before.
With these steps, you’ve effectively replicated a tool that costs $ 790, without spending a penny! It’s straightforward, and I believe there are rooms for quality improvement similar to what AutoDepth AI charges for.
If you'd like more detailed information regarding this tutorial or others, visit CGMatter.com. This side project is aimed at avoiding the fees that platforms like Patreon charge.
Keyword
- Blender
- AutoDepth AI
- Depth map
- MerryGold
- 3D effect
- Displacement
- Geometry
- Rendering
FAQ
Q: What is AutoDepth AI?
A: AutoDepth AI is a software tool that generates depth maps from images, allowing users to create 3D effects without complex modeling.
Q: How can I create a depth map for free?
A: By using the MerryGold depth model available online and following the steps outlined in this tutorial, you can create a depth map at no cost.
Q: What software is needed for this tutorial?
A: You will need Blender to perform the depth mapping and visualization tasks.
Q: Why do I need high-resolution images?
A: High-resolution images provide more detail, which results in a more accurate and visually appealing depth map.
Q: Can I use other depth models besides MerryGold?
A: Yes, there are several depth models available, but MerryGold is one of the most advanced options currently accessible.