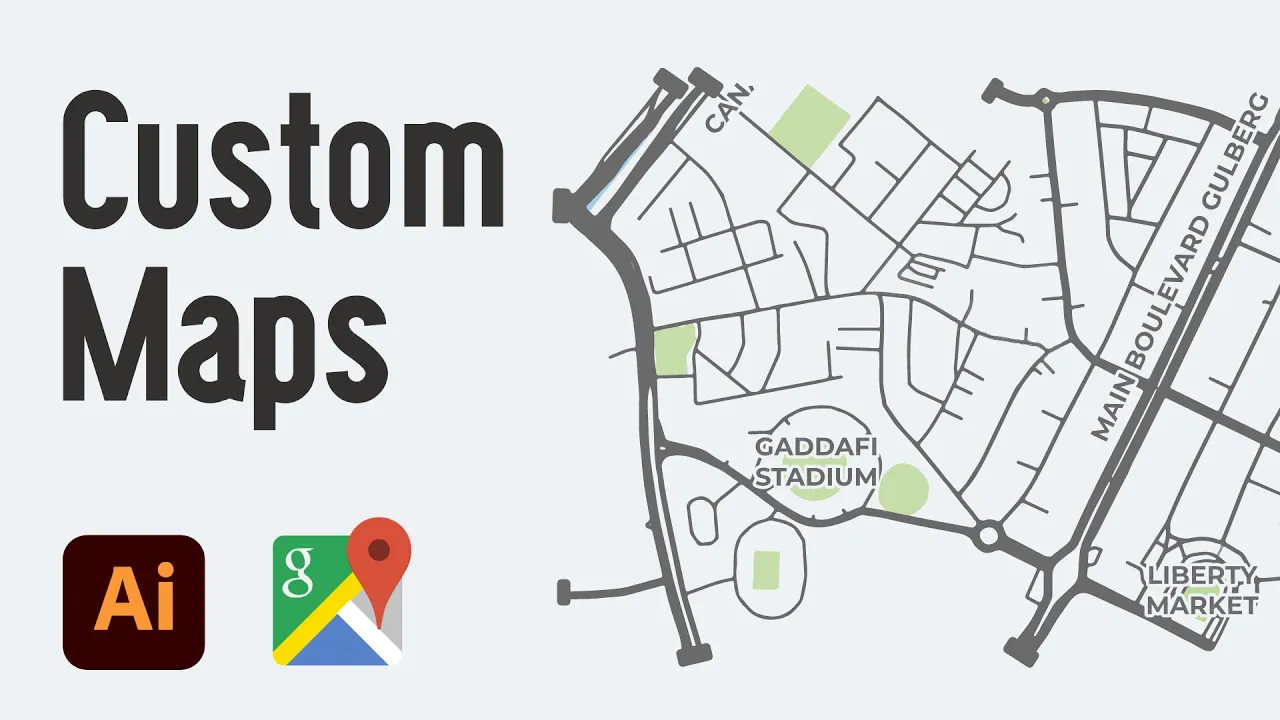
Create Custom Google Maps (Complete) in Adobe Illustrator & Snazzy Maps (2021)
Education

Create Custom Google Maps (Complete) in Adobe Illustrator & Snazzy Maps (2021)
Hello everyone! Today we will learn how to create a custom map that you can use on your website or mobile application design. For this purpose, we will be using Snazzy Maps to create a map, and then we'll bring the image to Adobe Illustrator for further editing. Finally, we will save the file as a vector and bring it to Adobe XD to present a high-quality resolution on our website. Here’s a step-by-step guide:
Step 1: Create a Custom Map on Snazzy Maps
Visit Snazzy Maps: Go to snazzymaps.com and click on the "Create a Style" tab.
Choose Default Style: Select the default Google map style and click "Apply Style". If you want a specific result, tailor your map by making certain areas white, roads dark, and removing labels.
Hide Labels and Points of Interest:
- Turn off visibility for points of interest.
- Turn off visibility for road labels.
- Ensure to check what each label category is meant for and disable those as needed.
Adjust Colors:
- Change the landscape geometry fill to white.
- Change the road geometry color to dark.
- Ensure parks are visible and assign them a green color.
Save Map: Click "Download Image". Ensure you log in to download up to 10 images per day. Opt for dimensions like 1000 by 1000 pixels and the highest resolution available (3x).
Step 2: Edit the Map in Adobe Illustrator
Import to Illustrator: Open the downloaded image in Adobe Illustrator.
Image Trace: Use the Image Trace option to convert the image to a vector. Suitable options include 3 colors, 6 colors, 16 colors, low fidelity, or high fidelity. Start with the "3 Colors" option to see the results.
Expand and Ungroup Elements: After tracing, click "Expand" to convert tracing results to vector paths. Ungroup the elements to work on individual parts.
Modify Shapes: Use the Pencil or Knife tool to modify shapes as needed. This might involve cutting sections, joining paths, or changing shapes to achieve the desired look.
Step 3: Add Labels and Final Tweaks
Add Labels: Use the Text Tool to add labels like "Main Boulevard" or any other relevant information. Format text properties as needed.
Create Outlines: For better visibility, create outlines for text by converting it to paths.
Offset Path for Labels: To make labels stand out, use the "Offset Path" option under the "Object" menu, specifying a suitable offset and color.
Export Final Map: Save your work as a vector file that can be imported into Adobe XD for a high-resolution presentation on websites or mobile apps.
Conclusion
Snazzy Maps is a powerful tool for creating accurate and customizable maps. By following the steps above, you can tailor maps to any specific requirements, ensuring important landmarks and venues are clearly marked. This versatility is especially valuable for web and mobile designs that require precise location details for user convenience.
Hopefully, this tutorial is useful to you. See you in the next lesson. Thank you!
Keywords
- Custom Map
- Snazzy Maps
- Adobe Illustrator
- Image Trace
- Vectorize
- Adobe XD
- Labels
- Website Design
- Mobile Application
- High-Resolution
FAQ
Q1: What is Snazzy Maps? A1: Snazzy Maps is an online tool that allows you to create customized Google Map styles for use on websites and applications.
Q2: How can I remove labels from the map in Snazzy Maps? A2: In Snazzy Maps, turn off visibility for specific label categories like points of interest and road labels to remove them.
Q3: What format should I use to download my custom map from Snazzy Maps? A3: Download the map as an image with dimensions such as 1000 by 1000 pixels at maximum resolution (3x).
Q4: How do I convert my Snazzy Maps image to a vector in Adobe Illustrator? A4: Use the Image Trace feature in Adobe Illustrator and select options like "3 Colors" or "High Fidelity" to convert your image to a vector. Then click "Expand" and ungroup elements for further tweaking.
Q5: How can I add custom labels to my map in Adobe Illustrator? A5: Use the Text Tool to add labels, format their properties, and use the "Offset Path" option to enhance their visibility.
Q6: Why is vectorizing my map important? A6: Vectorizing the map ensures high-quality, scalable graphics that can be used in various web and mobile applications without losing resolution.