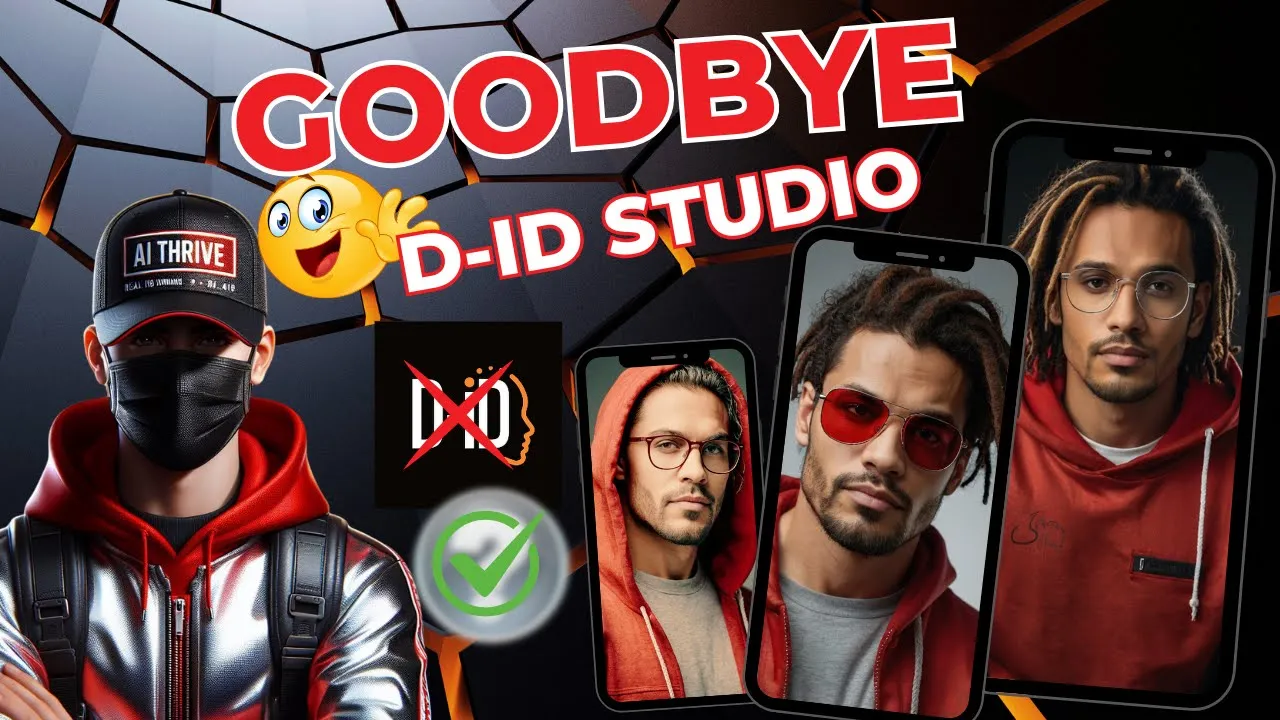
How to Create Talking AI Avatar For Free Without Watermark | Best FREE D-ID Alternative
People & Blogs

How to Create Talking AI Avatar For Free Without Watermark | Best FREE D-ID Alternative
Creating talking avatars has become a trend across various social media platforms. Content creators are leveraging talking photos to increase their engagement and reach on platforms like TikTok, YouTube, and Instagram. One of the most popular talking photo generators is D-ID Studio, but it comes with a cost. In this article, we'll walk you through a detailed, step-by-step guide to creating a talking AI avatar for free and without a watermark.
Step 1: Generate a Portrait Photo
First, you need to generate a portrait photo to create your talking avatar. While you can use any AI image generation tool, we'll be using Leonardo AI for this example.
Access Leonardo AI: Register for an account via the link provided (link in the description).
Generate Image: Once logged in, navigate to the image generation section on your dashboard.
- Enter Prompt: Use the provided prompt or customize your own.
- Model and Ratio Selection: Select "Leonardo Kino XL" as the model and set the aspect ratio to 9:11.6.
- Generate: Click the generate button and wait for your images to be created.
Select and Download: Choose the best image from the four generated options and download it.
Step 2: Generate Voice Over
Next, generate a voice over for your avatar. You have the option to record your own voice or use an AI voice generator. For this example, we'll use 11 Labs.
- Access 11 Labs: Sign up or log in using your Google or email account.
- Generate Voice:
- Select Voice: Choose the voice you want for your avatar.
- Adjust Settings: Fine-tune the voice settings as needed.
- Generate and Download: Input your text prompt, generate the voice, and download the audio file once satisfied with the preview.
Step 3: Create the Talking Avatar
With your photo and audio ready, use the Talking Heads platform to create your talking avatar:
- Access Talking Heads: Navigate to their website and select "Generate Talking Heads."
- Upload Photo and Audio: Upload the generated portrait photo and audio file.
- Generate Avatar: Choose either the head-only or full avatar option and click the generate button.
Step 4: Remove Watermark
The final step involves removing any watermark from the generated video:
- Crop Image: Use Canva to crop and expand your image, removing any unwanted elements, and then re-upload the edited photo to generate a clean video.
- Enhance Video Quality: Improve video quality using the VMake video enhancer.
- Upload Video: Enhance the generated video and download it.
- Remove Watermark Using CapCut: Import the video into CapCut, adjust the image size to hide the watermark, and export the final video.
Your talking avatar is now ready for use! Enjoy the seamless experience of creating engaging, talking avatars for your social media channels without any watermark.
Keywords
- Talking avatars
- Social media
- Leonardo AI
- 11 Labs
- CapCut
- VMake video enhancer
- Free D-ID alternative
- Generate AI avatars
- Remove watermark
- Voice over
FAQ
Q1. What is the first step in creating a talking AI avatar? A1. The first step is to generate a portrait photo using an AI image generation tool, such as Leonardo AI.
Q2. Can I use my own voice for the avatar? A2. Yes, you can either use your own voice or generate a voice over using an AI voice generator like 11 Labs.
Q3. Which tools are used to remove watermarks from the video? A3. Canva is used to crop and expand the image, and CapCut is used to adjust the video size to hide the watermark.
Q4. Is it possible to enhance the video quality? A4. Yes, you can enhance the video quality using the VMake video enhancer.
Q5. Do I need to create accounts on multiple platforms? A5. Yes, you need to create accounts on various platforms including Leonardo AI, 11 Labs, Canva, VMake, and Talking Heads to complete the process.