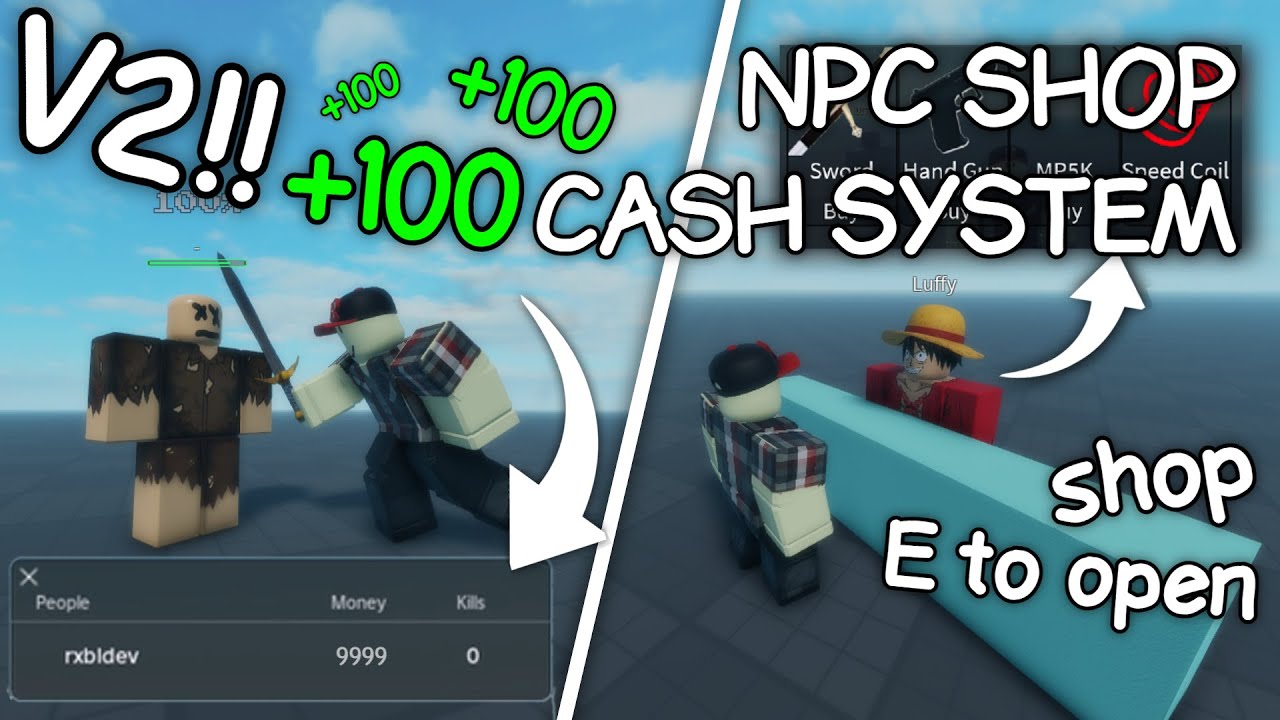
HOW TO MAKE AN NPC SHOP AND COINS SYSTEM V2 [Roblox Studio Tutorial]
Gaming

Introduction
Creating an NPC shop with a coins system in Roblox Studio can enhance gameplay and user interaction. The following guide provides a step-by-step approach to implementing this feature effectively.
Step 1: Setting Up Your NPC
Create Your NPC: Start by inserting a new NPC into your game. You can do this by navigating to the "Model" tab and selecting "NPC". Customize it to fit the aesthetic of your game.
Add a Humanoid: Make sure your NPC has a Humanoid object. This allows the NPC to behave like a player and gives it health metrics.
Position Your NPC: Place your NPC in the appropriate location where players can easily interact with it.
Step 2: Implementing the Coins System
Create a Leaderboard:
- Open the script editor and insert a new Script into
ServerScriptService. - Use the following code to create a coins leaderboard for players:
game.Players.PlayerAdded:Connect(function(player) local leaderstats = Instance.new("Folder") leaderstats.Name = "leaderstats" leaderstats.Parent = player local coins = Instance.new("IntValue") coins.Name = "Coins" coins.Value = 0 coins.Parent = leaderstats end)- Open the script editor and insert a new Script into
Create Coin Collection Items:
- Design coin items that players can collect around the game.
- Use a similar script to update the player's coin count when they touch the coin item.
Step 3: Building the Shop Interface
Create a GUI:
- Design an interface for your NPC shop using the "ScreenGui" option in Roblox Studio. Allow users to see available items and their prices.
Connecting the GUI to the NPC:
- Insert scripts to open the shop interface when players click on the NPC. For instance:
local gui = game.StarterGui.ShopGui -- Reference to your GUI

npc.Touched:Connect(function(hit)
    local player = game.Players:GetPlayerFromCharacter(hit.Parent)
    if player then
        gui.Enabled = true
    end
end)
Step 4: Allowing Purchases
Set Prices:
- Define the prices of items in your shop script. Ensure that you check if the player has enough coins before allowing a transaction.
Modify Coin Values:
- If a purchase is successful, deduct the corresponding amount of coins from the player's total.
if player.leaderstats.Coins.Value >= itemPrice then
    player.leaderstats.Coins.Value = player.leaderstats.Coins.Value - itemPrice
else
    print("Not enough coins!")
end
Conclusion
By following the steps above, you can successfully implement an NPC shop and coins system in Roblox Studio. This feature not only enhances the gaming experience but also encourages players to explore and engage with your game more actively.
Keywords
- NPC
- Roblox Studio
- Coins System
- Leaderboard
- GUI
- Shop Interface
- Purchases
FAQ
Q1: How do I create a new NPC in Roblox Studio?
A1: You can create a new NPC by navigating to the "Model" tab and selecting "NPC" from the options.
Q2: Can players collect coins from the environment?
A2: Yes, you can create collectible coin items and use scripts to update the player's coin count upon touch.
Q3: What scripting language does Roblox Studio use?
A3: Roblox Studio uses Lua as its scripting language.
Q4: How can I ensure that purchases are only made if players have enough coins?
A4: Implement a check in your script to see if the player's coin count is greater than or equal to the price of the item before allowing the purchase.