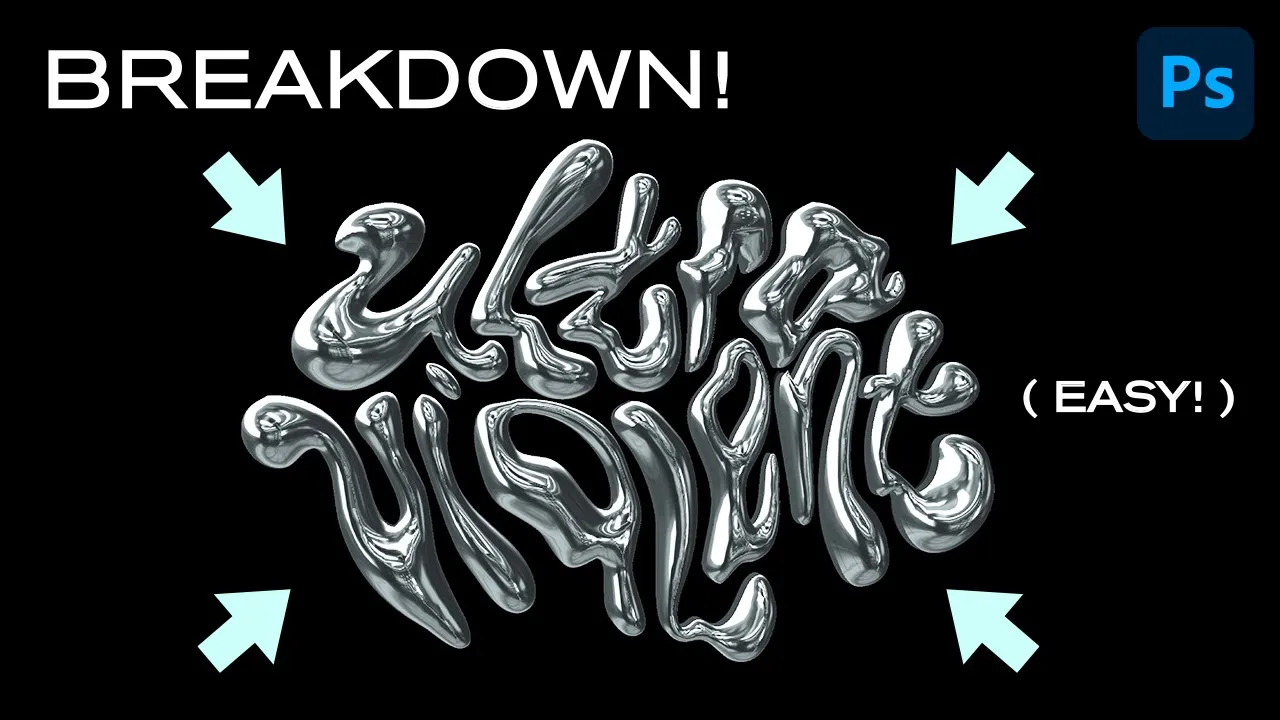
How to make THIS cool 3D Chrome Text Effect | Photoshop Text Tutorial For Beginners
Howto & Style

How to make THIS cool 3D Chrome Text Effect | Photoshop Text Tutorial For Beginners
Hey everyone! Today, we’re diving into something new and exciting. We’ll be breaking down a trendy 3D metallic chrome text effect that I discovered on FXNT’s Instagram page. Normally, you’d need software like Blender or Cinema 4D for such effects, but don’t worry—we’ll achieve a similar look using just Photoshop! This guide is beginner-friendly, and I’ll walk you through every step. Let’s get started!
Step-by-Step Guide
Setting up Photoshop
- Open Photoshop and create a new document with dimensions of 2000 x 2000 pixels and a resolution of 150.
- Go to Photoshop Preferences and then Technology Previews to ensure that "Deactivate Native Canvas" is checked. This helps prevent preview errors in the 3D workspace. Restart Photoshop to apply changes.
Importing Artwork
- Import your artwork from Illustrator as a Smart Object into Photoshop.
Creating 3D Extrusion
- Open the 3D panel by navigating to Window > 3D.
- Click on 3D Extrusion and select Create.
- This will generate a 3D matrix where you can manipulate the object’s orientation in four ways: side to side, rotating sideways, up and down, and zooming in and out.
- Uncheck "Cat shadows" and "Cast shadows" in the Properties window.
- Set the Extrusion Depth to zero.
Adjusting Textures
- On the 3D panel, select "Vector Smart Object".
- Enable textures for both the front and back by adjusting the settings in the Properties window.
- Set the curve to the more curved shape from the second row, first column.
- Adjust the angle to 90 degrees and the strength to 40.
Applying a Metallic Texture
- On the 3D panel, click the arrow icon next to "Vector Smart Object" and navigate to the checkered pattern for texture mapping.
- Set Metallic to the highest value.
- Change the background to black for better visibility.
- Click on "Edit Texture" under the Environment section in the Properties menu and drag in a reflective image.
Fine-Tuning
- Rotate the object to find a lighting angle you like.
- Export the image as a PNG with a transparent background.
- Import the PNG back into Photoshop for final adjustments.
Final Adjustments
- Use layers and adjustment tools for additional fine-tuning.
- Adjust the curves to enhance contrast and visibility.
- Opt for hue and saturation to match your desired tint.
- Fine-tune brightness and contrast for clarity.
Keywords
- 3D Chrome Effect
- Photoshop Tutorial
- Smart Object
- 3D Extrusion
- Reflective Room Texture
- Adjustment Layers
- Contrast and Brightness
- Hue and Saturation
FAQs
What software do I need to create a 3D chrome text effect?
- Ideally, 3D software like Blender or Cinema 4D is used. However, this tutorial shows how to do it using just Photoshop.
Why do I need to deactivate the native canvas in Photoshop?
- Deactivating the native canvas prevents preview errors in the 3D workspace, ensuring your textures and lighting appear correctly.
How can I apply a metallic texture in Photoshop?
- Use the 3D panel to select your object, navigate to texture settings in the Properties window, and adjust the metallic value to the highest setting.
Is it possible to get a reflective chrome effect without using 3D software?
- Yes, while Photoshop’s capabilities are more limited than dedicated 3D software, you can still achieve a convincing 3D chrome effect by following this tutorial.
Can I use any image for the texture?
- Yes, but the texture will determine the final look of your chrome effect. Experiment with different reflective images to get the desired result.
How do I adjust the lighting on my 3D text?
- Rotate the 3D object within Photoshop to find the best lighting angle. Use adjustment layers to further fine-tune the lighting and contrast.

