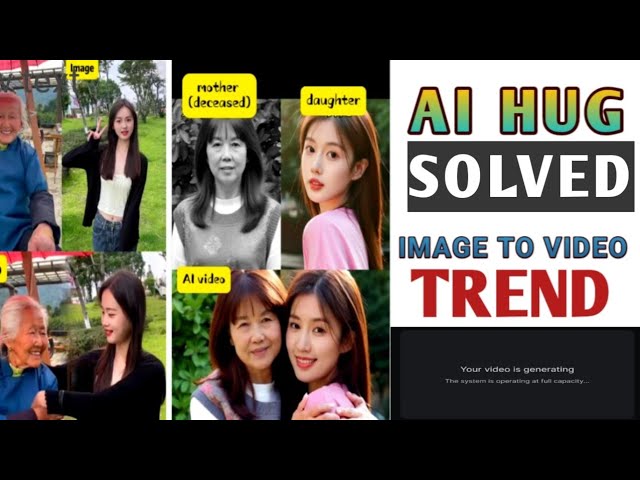
Image to video ai hug video editing/pixverse ai generating problem solved/ai hugging video tutorial
Science & Technology

Introduction
In recent times, AI-generated videos, particularly using Hug Image to Video techniques, have gained immense popularity. Many users are now eager to create such videos on platforms like PixVerse. In this tutorial, I aim to walk you through the process of generating these videos efficiently while addressing common challenges you might encounter.
Introduction to PixVerse for Video Generation
If you're familiar with PixVerse, you'll know that the platform allows users to generate videos from images. However, many users face delays and issues during the video creation process. In this article, I will share my insights and tips on how to make this process smoother and quicker, so you can create stunning AI-generated videos effortlessly.
Step-by-Step Guide to Create Your Video
Accessing PixVerse:
- Open your browser and navigate to the PixVerse website.
- Log in to your existing account or create a new one if necessary.
Selecting Image to Video Feature:
- Once logged in, look for the "Image to Video" option.
Uploading Your Image:
- Choose a photo you want to work with, ensuring it fits a 16:9 aspect ratio for best results.
- As the image uploads, enter a prompt describing the video, for example, “They are hugging each other.”
Setting Video Duration:
- Choose your desired video length, like 5 or 10 seconds.
Creating Your Video:
- Click on "Create," and the system may inform you that you’ve exhausted your free credits. To continue, you may need to consider a subscription for additional credits.
- Select the PixVerse v1 model from the dropdown list, then click "Create" again.
Checking Video Status:
- Navigate to “My Videos” to see the status of your video generation. If you encounter delays, keep refreshing the page by swiping down frequently, which can help in getting your video processed faster.
Downloading Your Video:
- Once the video is ready, click on it to play. Be aware that it might initially play slowly due to buffering.
- To save the video, click the save option multiple times to ensure it downloads successfully. Check your phone’s gallery to confirm the save.
Conclusion
Following these steps should help streamline your video creation on PixVerse. If you wish to explore more in-depth editing techniques or seek a tutorial on creating specific types of videos, I recommend looking for related videos linked in the description area. Stay tuned for more tips and enjoy creating your stunning AI videos!
Keywords
- AI-generated videos
- Hug Image to Video
- PixVerse video creation
- Image to Video feature
- Video tutorial
- Video editing tips
- AI Hugging Video
FAQ
Q1: What is PixVerse?
A1: PixVerse is an AI-based platform that allows users to create videos from images, particularly through features like Hug Image to Video.
Q2: Why is my video generation taking a long time?
A2: The video generation process may be slow due to high traffic or if you've exhausted your free credits. Refreshing the page can sometimes speed up the process.
Q3: How can I ensure my video uploads successfully?
A3: Make sure your image adheres to a 16:9 aspect ratio and is uploaded according to the steps provided in the PixVerse interface.
Q4: What should I do if my video does not buffer properly?
A4: If the video does not buffer, try playing it again after a moment and ensure you have a stable internet connection.
Q5: Can I download the video multiple times?
A5: Yes, you can click the save option multiple times to ensure the video is saved successfully to your gallery. Check for multiple copies if needed.

